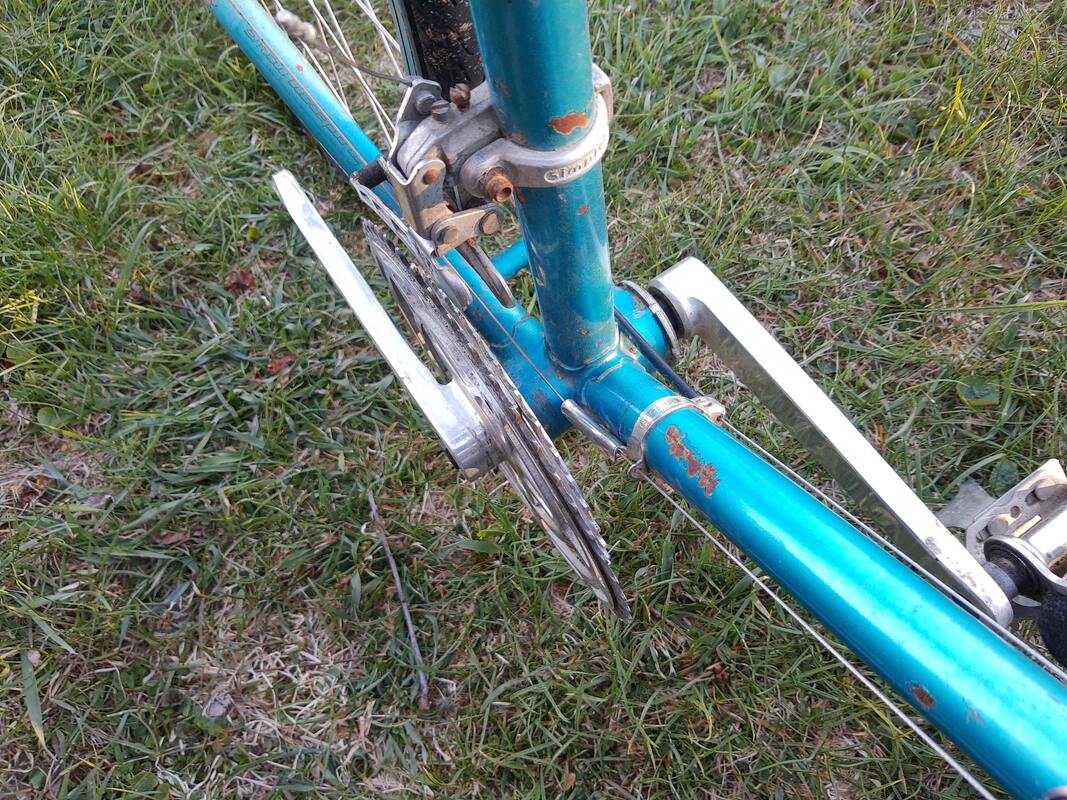
 I'm pretty sure that's the original Stronglight bottom bracket on this old Gitane Tour de France--you can see the lockring on the non-drive side. Not sure what happened to the drive-side pedal, though.
 Simple, that is, if you can find the right spindle for your particular bottom bracket. To some extent, it's possible to mix and match parts between manufacturers, but there are a lot of variables to reckon with, including shell width, spindle taper, and cup thickness. In short, the whole thing can be quite a can of worms
I'm not going to get into all that stuff here. The "Installation Notes" tab on this site provides some more detailed information, although I'm the first to admit that it's far from a complete reference on the subject.
But if your goal is to make an old bike into a reliable everyday rider--as opposed to "correct" restoration with all original-spec components--there's nothing wrong with replacing an original cup-and-cone setup with a modern square-taper cartridge bottom bracket. Trust me: no one will think the less of you for it. And if they do, the hell with them. Just hang onto the original BB (assuming it's not worn out) in case you or someone else wants to reuse it later.
So no more about cup-and-cone stuff. From here on, we're only going to concern ourselves with the best way to install modern cartridge bottom brackets--and better yet, to remove crusty old ones that would prefer to stay where they are.
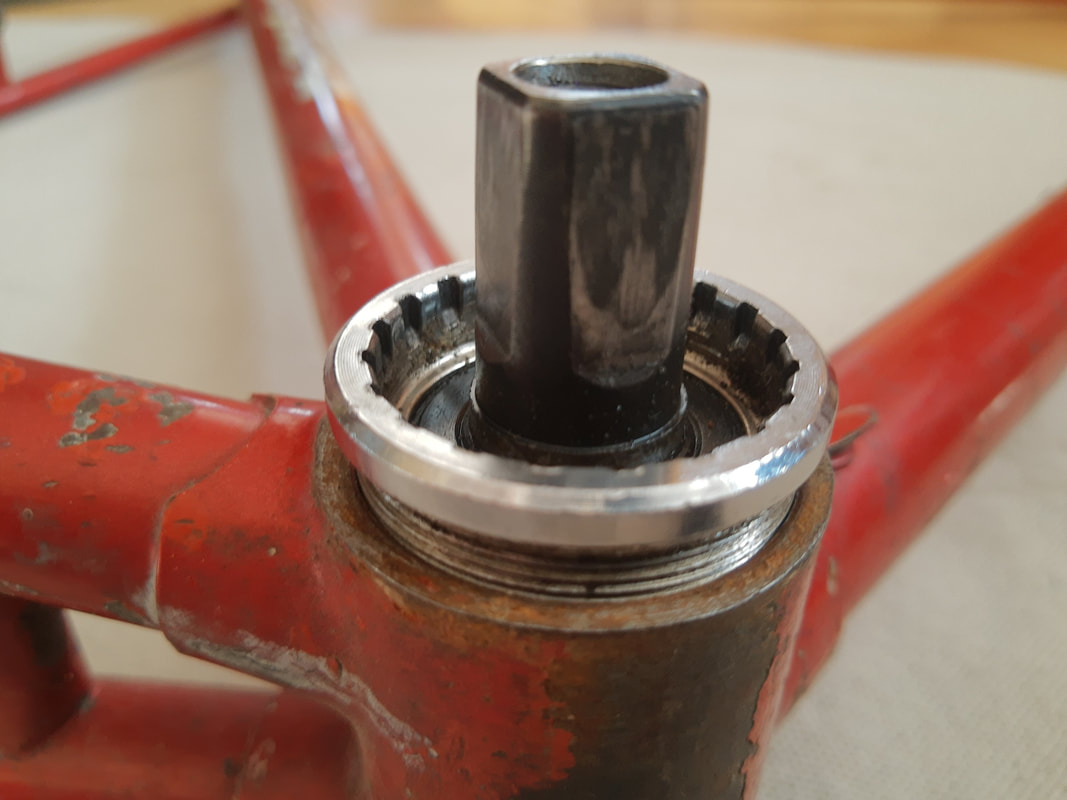
In principle, cartridge installation is perfectly straightforward. You grease the threads in the frame and on the drive-side end of the cartridge (you could use anti-seize compound instead of grease, although I never have), and thread it into the bottom bracket shell. English-threaded cartridges thread in counterclockwise, French or Italian-threaded go clockwise. Assuming that the threads in the bottom bracket shell are clean and in good shape, you should be able to thread it most of the way in by hand, at which point it will look something like the photo below.
It sounds simple, and it usually is. But trouble is never far away as you approach maximum tightness. The design of the Shimano splines is such that the tool engages the cartridge something like the way a phillips screwdrive engages a screw: You have to exert a lot of downward force (which in the case of a bike frame mounted in a stand amounts to sideways force) as you turn it, or it will cam out of position. If that happens when the tool is under load, it can strip the splines, leaving ugly marks on the cartridge and possibly costing you some knuckle skin.
In general, I try not to find fault with engineers. They have their job, and I have mine. But I admit that I have never been able to figure out Shimano's reasoning here. Why not design a tool-to-cartridge interface that makes a positive, non-pressure-dependent fit? Something more like a star-drive screw, or the older Roberson screw? It can obviously be done, because Phil Wood bottom brackets use a different spline system that does just that. I'd use their stuff all the time if I could afford to.
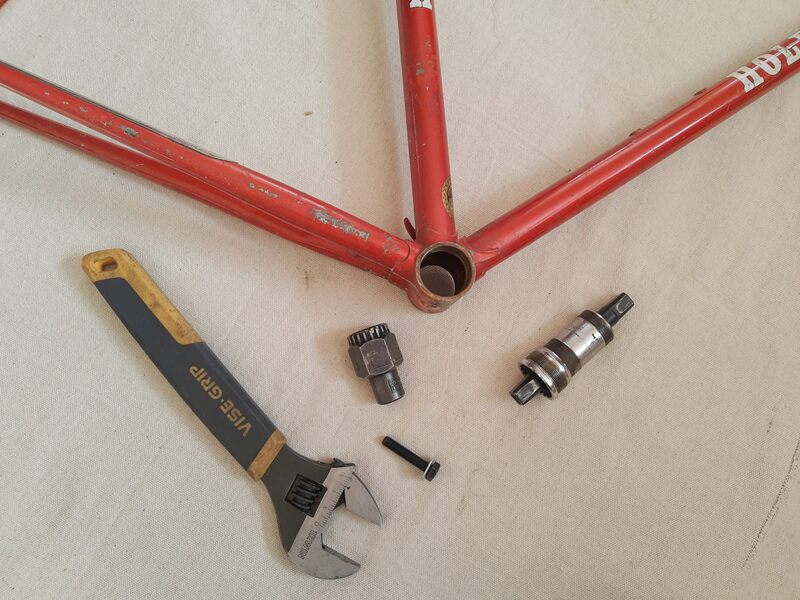
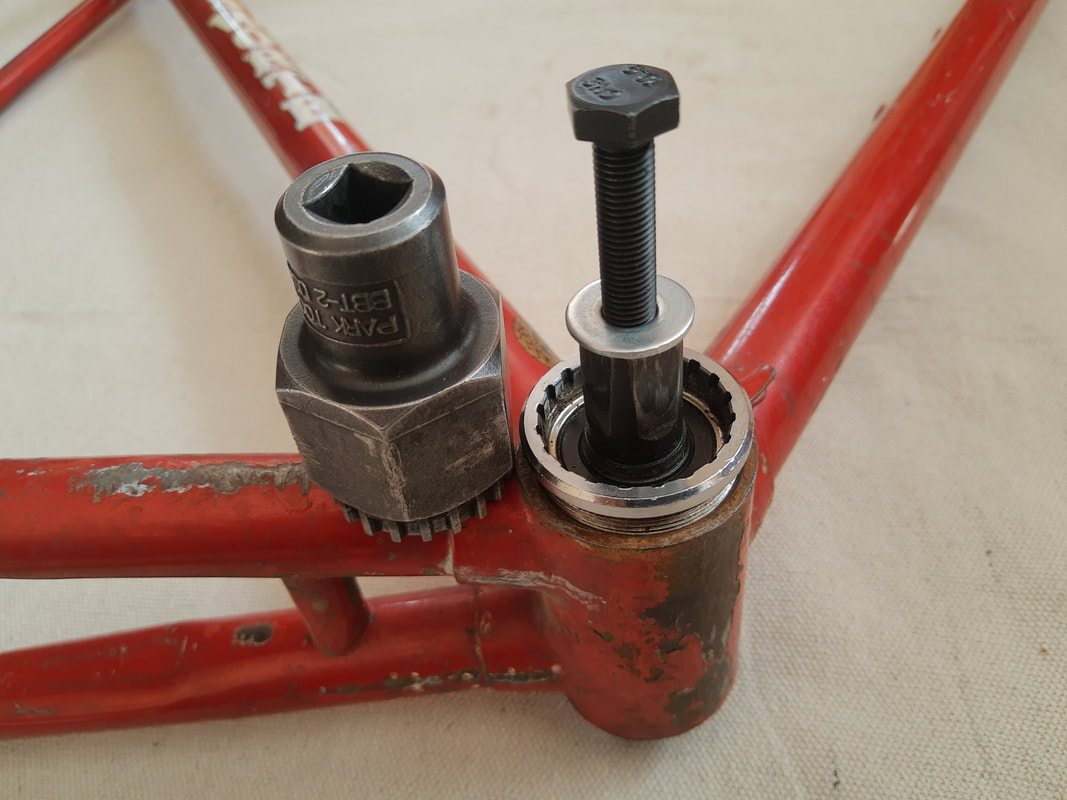
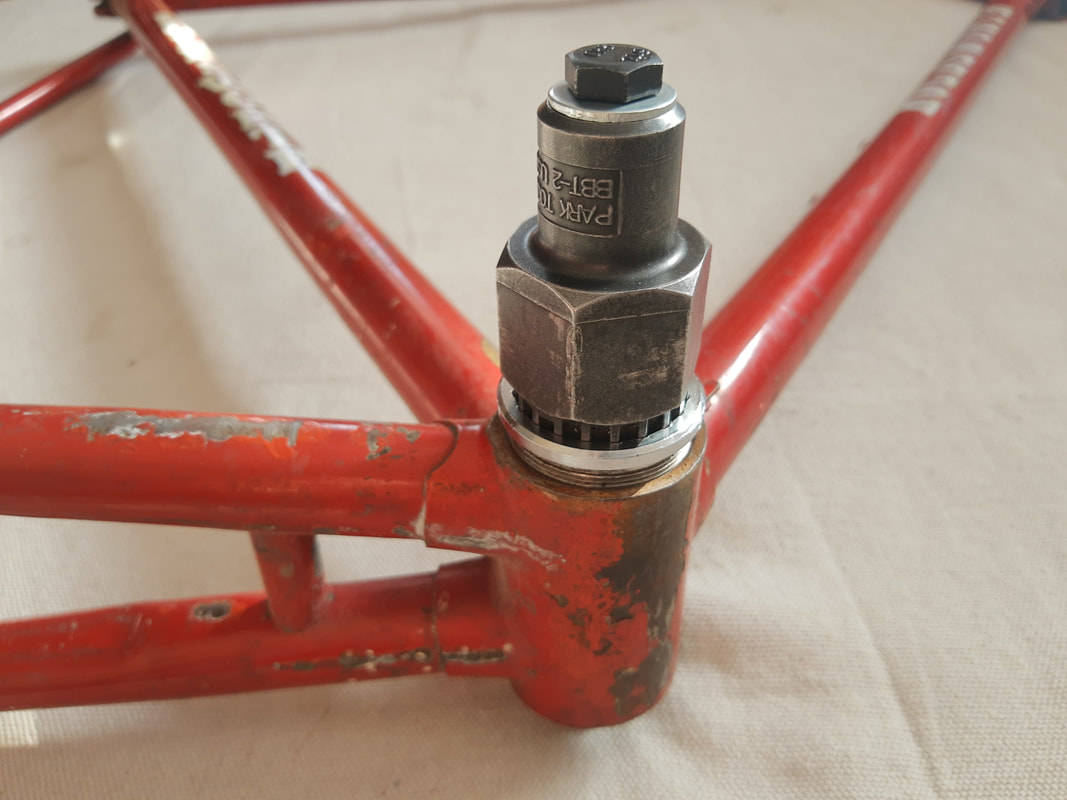
Fortunately, there's and cheap, fast, and simple way to work around the limitations of the Shimano design. Have a look a the photo below. See the bolt and washer threaded into the spindle? It has the same M8x1.0mm threading as a standard crankarm-fixing bolt, but it's longer--35mm as compared to a standard 15mm crankarm bolt.
What do you suppose will happen if we remove the bolt, fit the tool onto the splined cartridge, insert the bolt through the square-drive hole, and thread it back into the spindle?
reef that sucker down as tightly as you want--there's no way the tool can slip, now. Some BB tools, unfortunately, lack wrench flats, and in that case you're out of luck unless you want to take a pipe wrench to it. But c'mon, that would be barbaric. Just get a tool with a hexagonal body.
The required bolt will vary in length depending on the specific tool you're using, and perhaps the length of the BB spindle. The 35mm bolt shown here works nicely with my old Park BBT-2, but the current production version, the BBT-22 might require a slightly longer or shorter one--never having tried it, I can't say.
Fortunately, the length is non-critical, provided that the bolt isn't too short to thread four or five turns into the spindle. If it bottoms out before the head comes into contact with the top of the tool, just use a stack of washers to take up the extra space.
The same trick can also be used to fasten the non-drive-side cup, but since that side doesn't need to be as tight (that's why lots of non-drive-side cups are made of plastic, after all), I usually don't bother.
Either way, bear in mind that the temporary spindle bolt itself only needs to be finger tight. If you crank it down with a wrench, you're going to destroy the seals or bearing races in your nice new cartridge. So don't.
Finally, for the record, I want to publicly state that I invented this useful trick. That is, I didn't hear about it from anyone else, but thought of it on my own. Sadly, once I began sharing it around, it wasn't long before I ran into others who already knew about it.
Okay, so I'm not the inventor, I'm an inventor. That's good enough for me. Whoever gets the credit, it's a shop tactic that deserves to be better known.
 RSS Feed