I recently got back to Vermont from a three-week bike tour of Georgia, Alabama, Mississippi, and a little bit of Tennessee. It was a great time. I was accompanied by four friends on the first leg, from Savannah to Montgomery, Alabama. I was on my own across the rest of Alabama to Meridian, Mississippi, then west and north through the Mississippi Delta and up to Memphis.
I may tell that story some other time, but for now I wanted to describe a couple of new methods I used for carrying stuff, on the odd chance that other bike tourists might also find them useful.
I may tell that story some other time, but for now I wanted to describe a couple of new methods I used for carrying stuff, on the odd chance that other bike tourists might also find them useful.
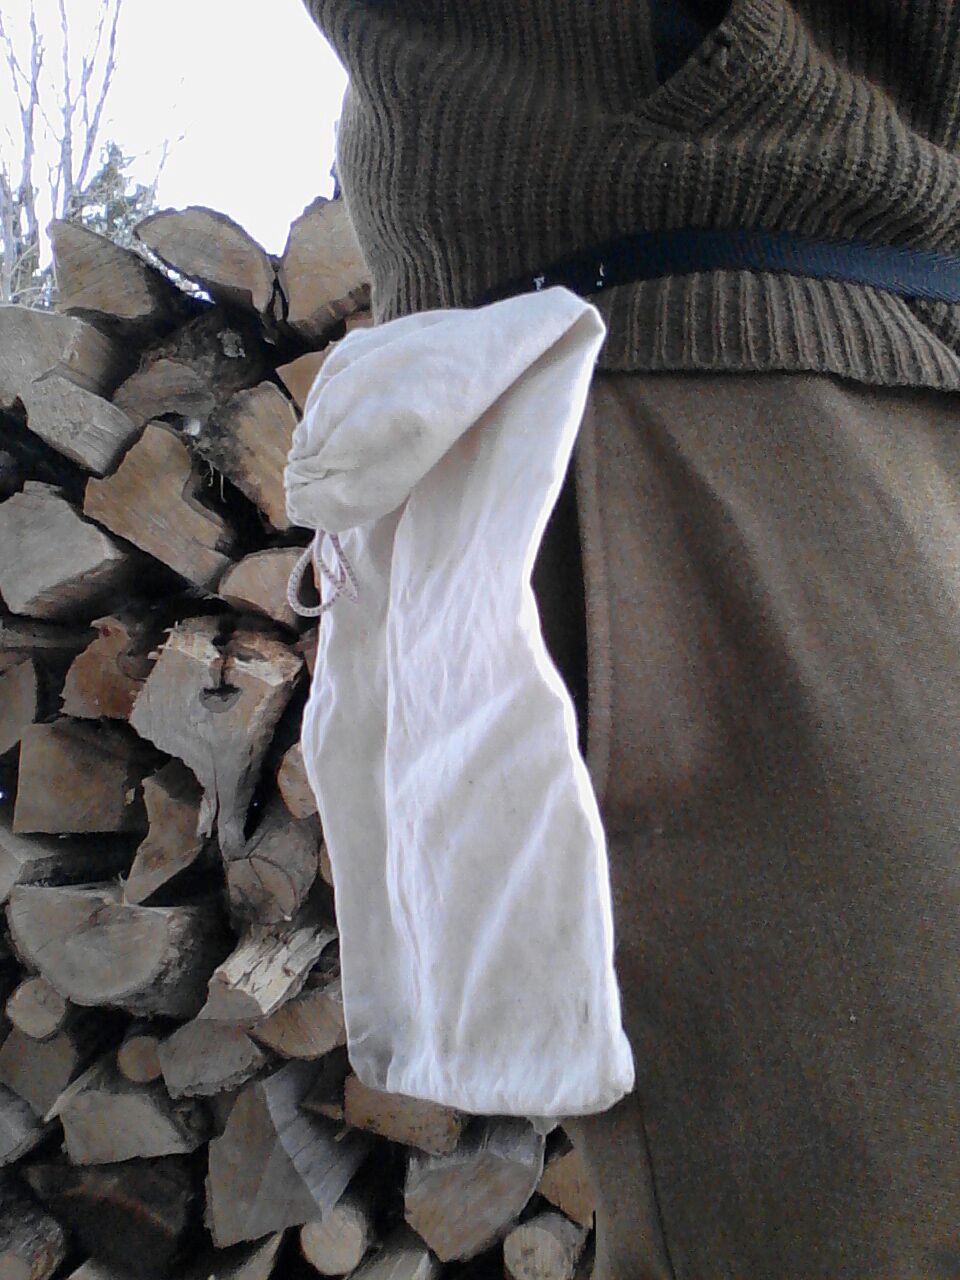
The Feed Bag and what's left of my woodpile. Note that the strap goes under the bag, not over it. I didn't wear those wool pants on the tour down South, but there's still quite a lot of April snow here in Vermont.
The Feed Bag
On past tours, I've carried snack foods--the essential fuel that keeps a bike tour going--in my shirt pockets or pants pockets or saddlebag or some combination of all three. I could never remember exactly where they were or how much food I had left, and once or twice I ran out of food altogether. That's no laughing matter when it happens far from the nearest convenience store.
This time, I tried a different approach. The basis of the Feed Bag is a tough cotton bag, measuring about 7 x 12", with a hem at the top for a drawstring. I bought a dozen of these a year or so ago--they're some kind of Italian military surplus equipment bag--but anyone with a sewing machine and some suitable material could whip one up in a few minutes.
Next, I found a piece of nylon webbing with a quick-release plastic buckle and stitched it to a flat side of the bag, a couple of inches below the top, so I could fasten it around my waist with the strap against my body and the mouth of the bag flopped down over it, as pictured below. I also removed the original fabric-tape drawstring and replaced it with a piece of ⅛” shock cord. I tied a knot in the cord so the mouth of the bag was mostly closed, but still open by an inch or so.
Every day or so, I’d load up the bag with my usual touring fuel--cellophane sleeves of peanuts, packages of peanut-butter crackers, and Snickers bars. I usually had a package or two of Grandmother’s Cookies, too. You can find them in every roadside convenience store in America. They’re not all that outstanding as cookies, but they get the job done: a package of two contains almost 400 calories, according to the label.
With the bag buckled in place around my waist, positioned a little behind my hip pocket, it was easy to reach back with my right hand, push my thumb, index finger, and middle finger into small opening, and spread it open enough to insert my whole hand. More often than not I would stop briefly to unwrap whatever I pulled out, but it still made refueling on the go a lot more convenient. And just touching the bag tells you how much food you have left.
Of course, if you tour in a bike jersey with the usual back pockets, this may be redundant. But I prefer to wear regular-looking clothes on bike tours, the better to blend into to the everyday world. And if you put on a jacket or wind shell over your jersey, you don't have to go rooting around under it to find a candy bar.
The Cake-and-Beer Bag
On every bike tour, there comes a time when you want to transport a rotisserie chicken, six-pack of beer, or grocery-store-freezer-case cake to your next campsite but don’t want to destroy it by cramming it into a pannier (assuming it will even fit, which it probably won’t.) Here’s where you deploy the Cake-and-Beer Bag.
The Feedbag is a simple piece of gear, but the Cake-and-Beer bag is simpler still. It doesn’t even include the bag. It’s just a method of rigging a plastic grocery bag so you can sling it on your back in such a way that it won’t promptly swing around to front and drive you nuts by getting tangled up with the handlebars.
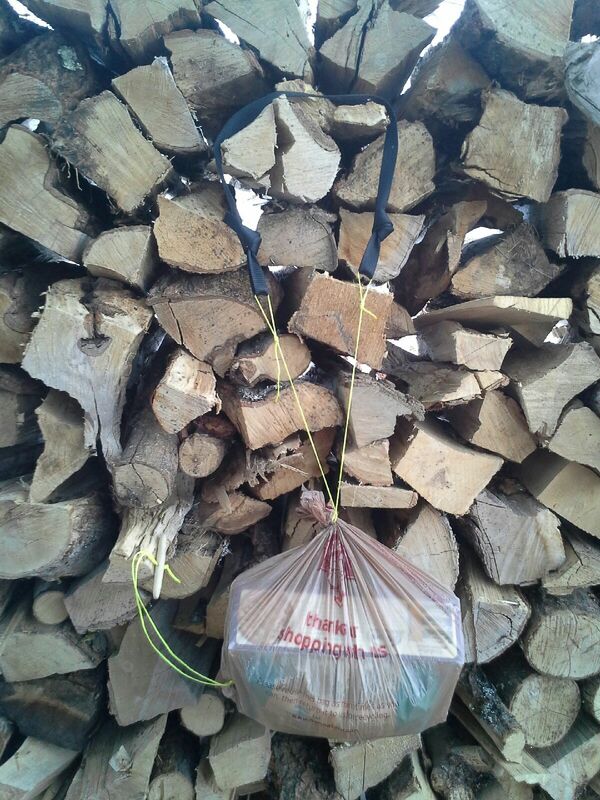
Here's a mock-up of the Cake and Beer Bag. Because I didn't have a rotisserie chicken handy, I filled it with a couple of boxes of crackers and a bag of pasta for the photo.
Take a three-foot piece of nylon strap and tie an overhand loop at each end. Take a piece of light nylon cord of about the same length as the strap and tie it between the two loops at the ends of the straps. Take a separate piece of light cord, maybe a foot and a half long, tie the ends together to form a loop, and run the loop through a short piece of smooth stick with a hole bored in the middle. (Because I’m fiddly by nature, I whittled a nice smooth toggle from a scrap of cedar board, but a two-inch length of stick would work just as well.) Coil them up together--they take up almost no space and weigh almost nothing--and stash them where they’ll be easy to lay your hands on when you need them.
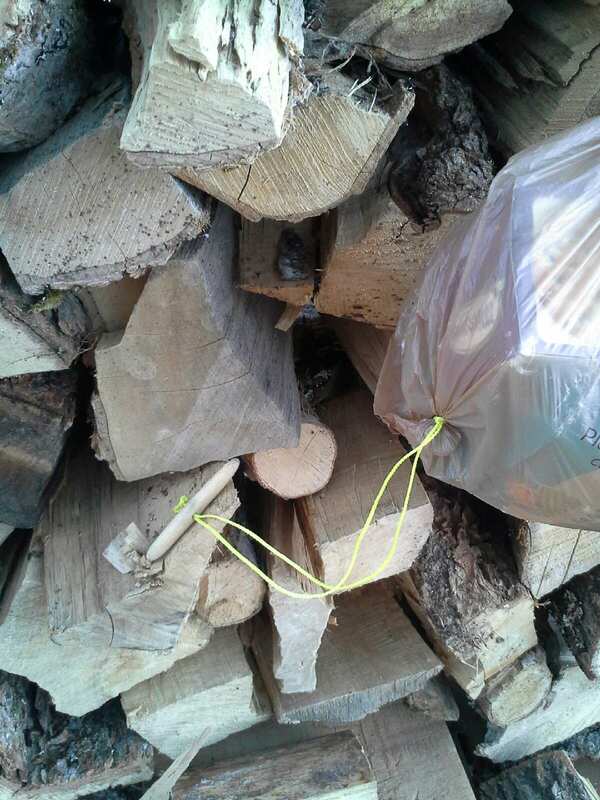
A closer view showing the toggle and the pebble in the corner of the bag. Safety-conscious rider that I am, I made sure to use highly visible string.
| When that time comes, put a marble-sized pebble in one corner of the plastic grocery bag containing your food, and hitch the string with the toggle around it. (No doubt there’s a name for this rudimentary hitch--it’s too simple to be called a knot--but I don’t know what it is. Have a look at the photo of the marker and parachute cord in the photo below if you’re not sure what I mean.) The pebble keeps the loop of cord from slipping off the corner. If you can’t find a pebble, you could tie a knot in the corner of the bag instead, but the pebble is easier. | 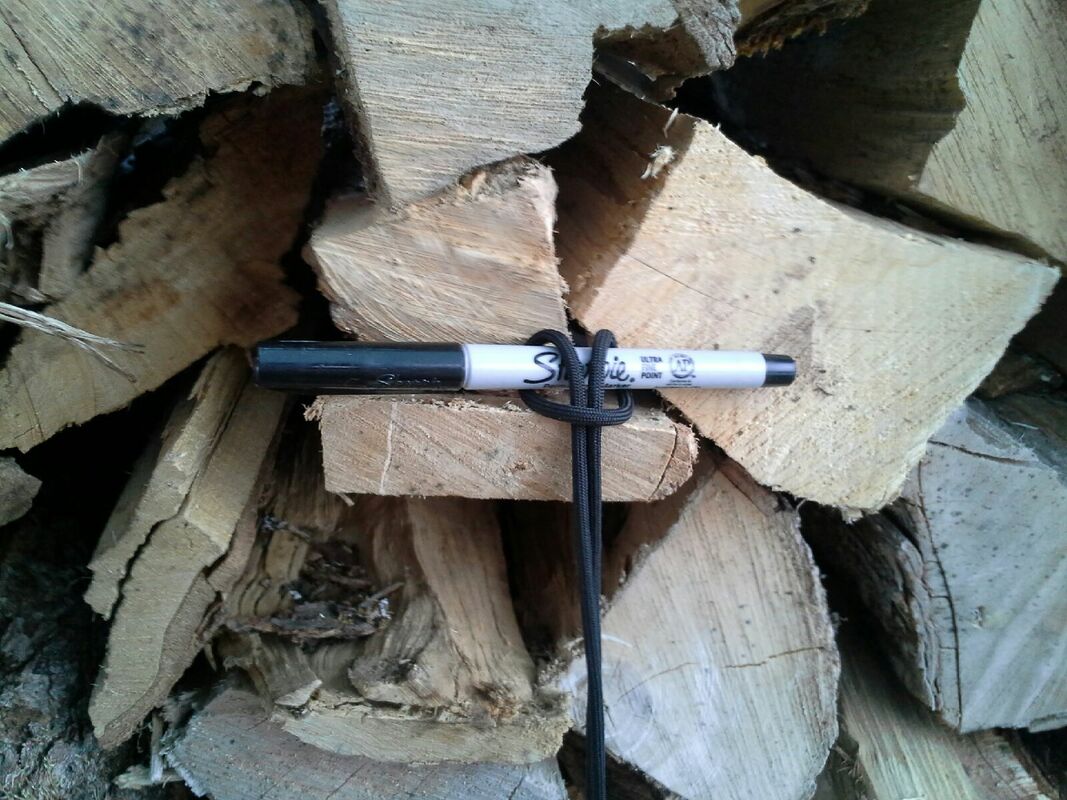 What's this hitch called? [EDIT: Okay, I looked it up--it's called a girth hitch.] |
Tie another knot in the top of the bag to keep your stuff from falling out, and use the same hitch to secure the string that's connected to the strap around the mouth of the bag.
Put your head and one arm through the strap and adjust the bag so it hangs near the small of your back. Take the piece of stick (or fancy-pants handmade toggle) and push it through one of the belt loops on the opposite side of your pants. That prevents the bag from rotating around to the front. (Wait, what? You’re bike touring in stretchy bike shorts with no belt loops? Gosh, maybe you could sew a small loop onto the waistband. I’m no help here--I always wear lightweight zip-leg pants with liner shorts under them.) It may take a few tries to get the length of the strings just right, but do that at home. Once you have the rig set up, it never needs to be adjusted again.
That’s it! It’s even a pretty comfortable carry, assuming you can arrange things so no sharp corners are digging into your back. Transporting a frozen cake this way feels really good on a hot afternoon.
 RSS Feed